It’s becoming more and more a part of our culture (some people are saying it’s bigger than Christmas): Halloween is officially taking over, so it’s time to learn how to carve a pumpkin properly. Or at all.
Step 1. Buy your pumpkin
Obvious yes, but there’s actually some science to apply here. You want the right sized pumpkin for your design, and if possible, a flat face. Not you, the pumpkin. (Little Halloween joke there.) The more flat-sided the pumpkin you can buy, the more likely you are to have an easy carve.
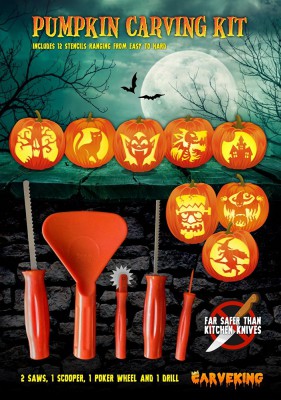
Step 2. Buy your carving equipment
A cheap kit is all you need. But the right tools will pay for themselves a thousand times over.
Step 3. Pick your design
Get online and look at some of the pumpkin stencils you can print off. A bit of sensible advice is to pick something that’s right for your ability level. But heck, it’s Halloween! Throw caution to the howling wind and pick whatever the crud you like, an unholy mess is what this holiday is all about.
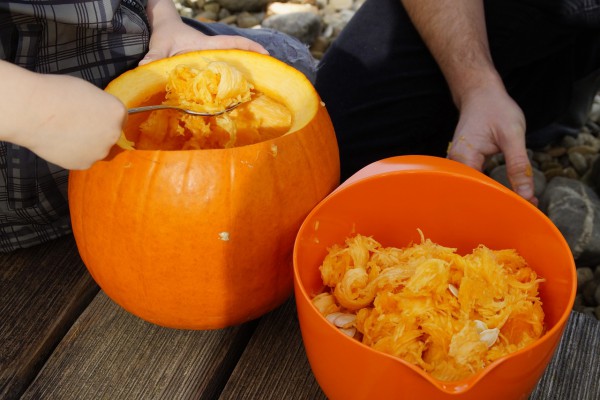
Step 4. Cut a circle in the top and get scoopin’
Lil tip: wash and keep the seeds. You never know when you’ll need to make a pumpkin seed pesto. Never? OK.
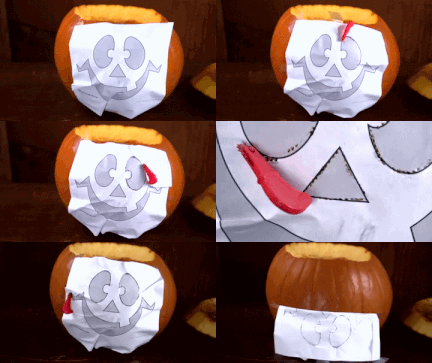
Step 5. Stick your stencil to your pumpkin
Or, if you’re feeling artistic, redraw the stencil design onto your pumpkin, for that slightly more accurate paper-free carve.
Step 6. Carve
Be careful to carve the right parts. Best get a practice pumpkin if you’re a novice, as like pancakes, the first one is normally a dud.
Step 7. Add candle
Light up your candle, put the top back on the pumpkin, and turn off the lights. EEK things just got spooky.
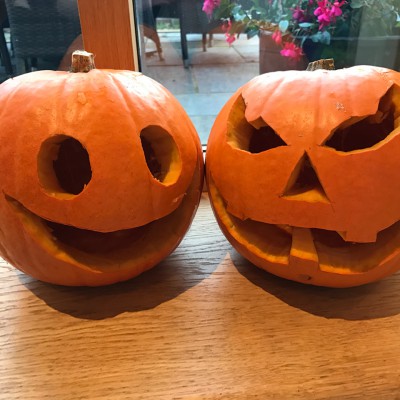
UnCOVered’s pumpkin gallery (we’re letting you steal our ideas, and that’s big!)
Proof that even those with limited time can whittle their way to pumpkin town…
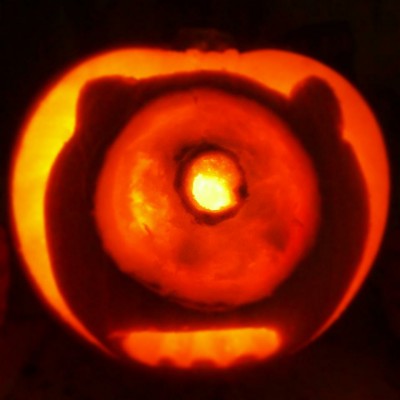
Tash’s Mike Wazowski and Oogie Boogie:

Niche’s pumpkin gang and pumpkin platters:


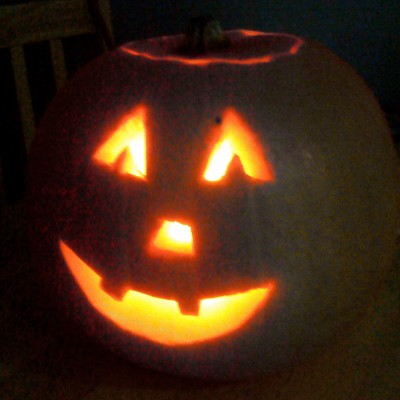
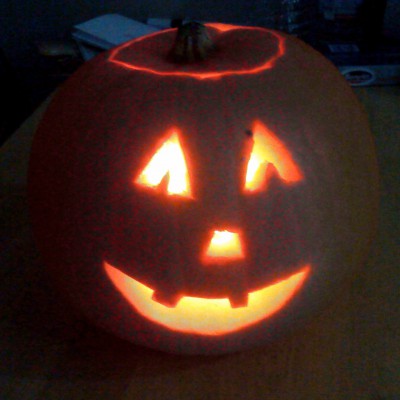
SJ with, Bruce:
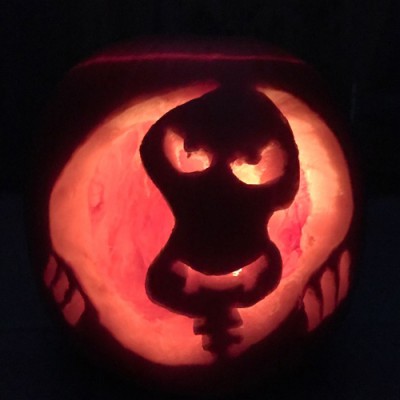
Ryan with, Hans:

Emma’s Spooky Faces
